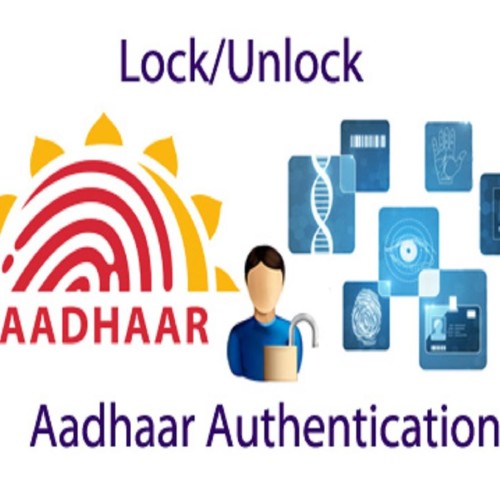
How To Lock Aadhaar Card

While creating the Aadhar card, the government stores fingerprints and retina scan data, which is called biometric data. It is used for base verification. You can lock this biometric data sitting at home. Visit the UIDAI website and Lock / Unlock Biometrics? Click on
You will now have the option of Lock your Biometrics. Insert your 12-digit base number below it and send the OTP. After this there will be a one time password on your mobile.

After that open the OTP in the OTP bar of the open page and click on Verify. Now check enabled biometric locking. After checking enabled biometric locking, click on the enable. If you want to disable the lock, then uncheck the enabled biometric locking. Disable it again.

In this way you can lock / unlock your base biometric data. Explain that after locking the biometric data, the transaction based on the basis and request will be validated only through OTP sent to the mobile number. The thumb and iris scan facility will end.

Comments

Popular posts from this blog

How to Secure Your Wireless (Wi-Fi) Home Network

How to Secure Your Wireless (Wi-Fi) Home Network Wireless Networking (Wi-Fi) has made it so easy for anyone to use Internet on your computer, mobile phones, tablets and other wireless devices anywhere in the house without the clutter of cables . With traditional wired networks, it is extremely difficult for someone to steal your bandwidth but the big problem with wireless signals is that others can access the Internet using your broadband connection even while they are in a neighboring building or sitting in a car that’s parked outside your apartment. This practice, also known as piggybacking, is bad for three reasons: It will increase your monthly Internet bill especially when you have to pay per byte of data transfer. It will decrease your Internet access speed since you are now sharing the same internet connection with other users. It can create a security hazard* as others may hack your computers and access your personal files through your own wireless network. [*...

How to set pen drive password

By laptops and computers, users handle their personal and office work throughout the day. In such a situation, a lot of data is collected in your laptop, which neither you can delete nor store it in your laptop or computer. In such a way, users resort to an extraordinary device such as PenDrive or USB drive to store data. However, your personal data may be in danger at the moment when this pen drive accidentally leads to someone else's hand. One click can insert your pen drive into your laptop and click through a single click, not only your personal photos, videos and documents, but can also harm you by stealing it. If you want to avoid this problem, you can password protect your pen drive or USB drive. After this, you will need to enter a password that you just know to see the data in your pen drive. There are two ways to protect the pen drive with password. The first way is to put a password on PenDrive with the help of BitLocker Encryption. Another way is to protect ...

How to Receive Push Notifications for Google Forms on your Mobile Phone

he  Form Notifications  add-on sends the  Google Forms data  in an email message each time a respondent submits then form. It can also send automated emails to the  form respondents  immediately after they complete your Google Form. The notifications add-on for Google Forms add-on has been updated and it can now send push notifications to your mobile phones as well. That means when respondents complete and submit your online Google Form, you’ll get an instant real-time notification ( sample ) on your iPhone or Android phone. The notification text can also include answers from the Google Form. A fast response time is a key to success, especially in areas like customer service and closing sales leads, and mobile notifications will ensure that your important form entries are never lost in the daily deluge of emails. SETUP MOBILE NOTIFICATIONS FOR GOOGLE FORMS It takes a few easy steps ( video tutorial ) to get up and running. Install...